TurkeyOnRye
Well-Known Member
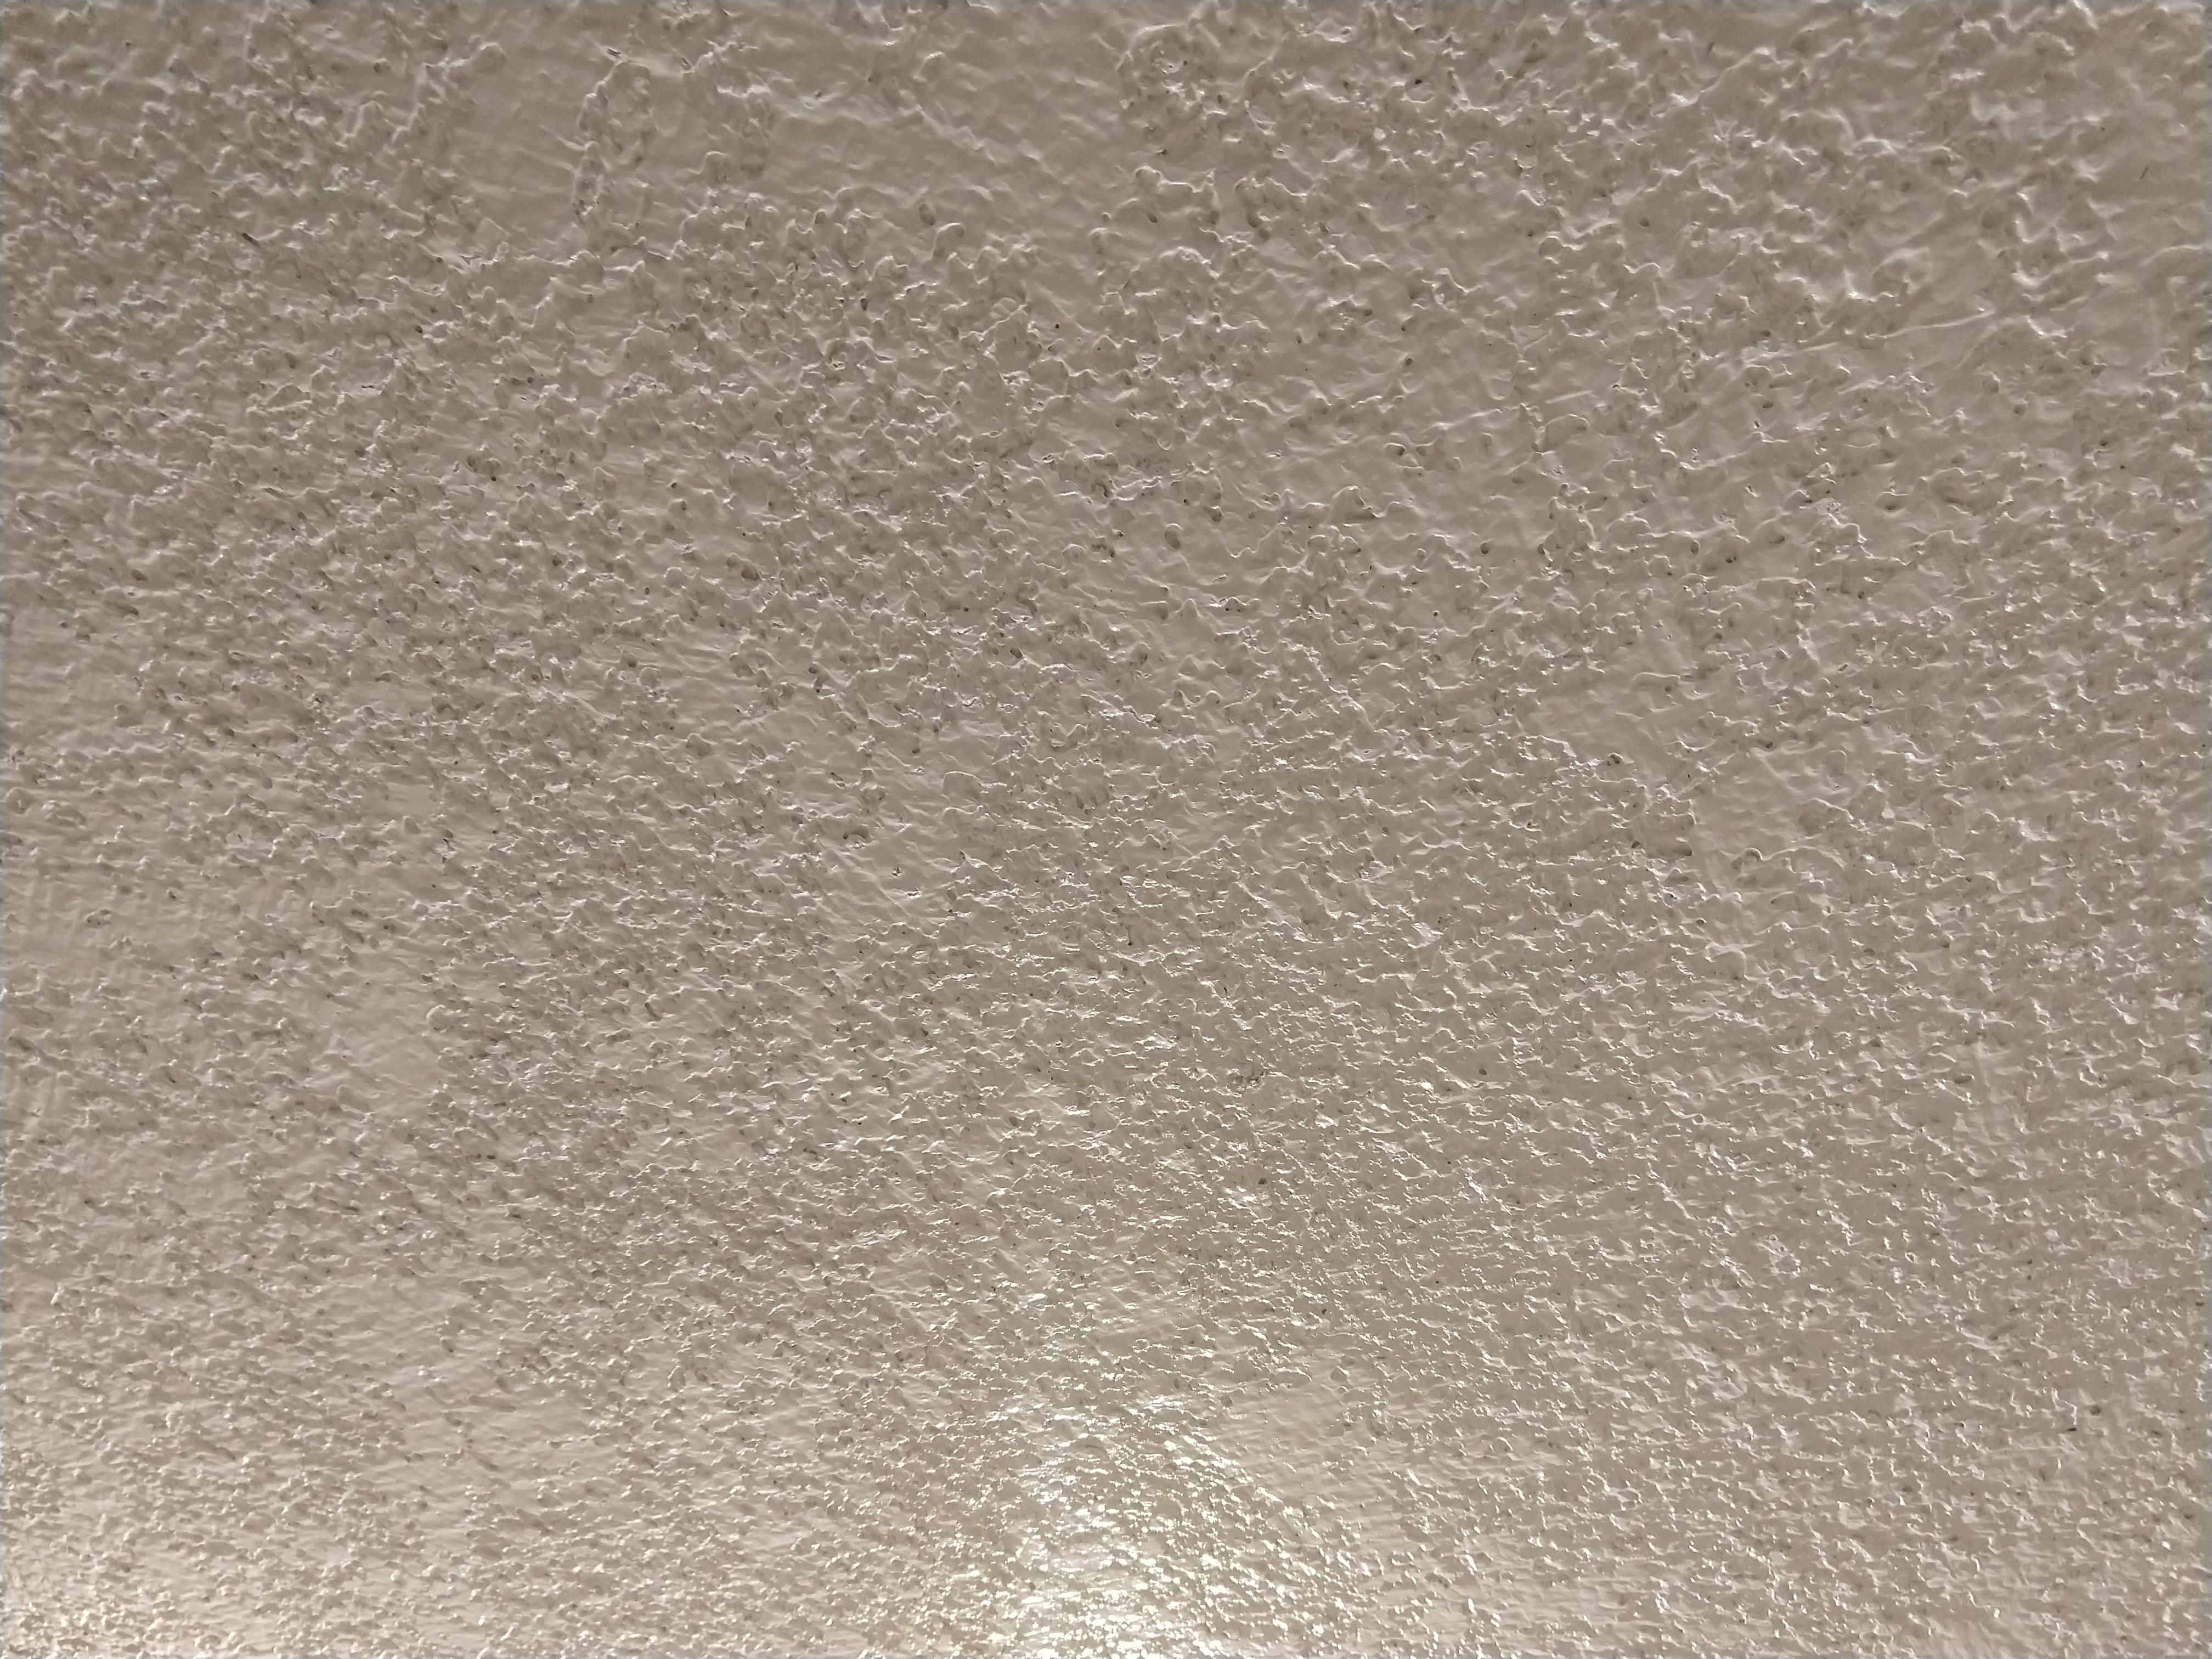
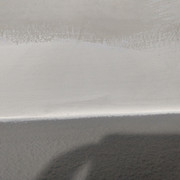
I've just finished skim coating over a popcorn ceiling and need some help finding a good filling and leveling primer, preferably one that can be rolled on. I was looking at Kilz High Build Surface Healing primer, but apparently it has been discontinued, despite rave reviews.
Can anyone recommend a good high build primer to layer over a skim coat of all-purpose light joint compound? I'm having trouble finding anything that isn't aimed at high volume spray-on production.
Can anyone recommend a good high build primer to layer over a skim coat of all-purpose light joint compound? I'm having trouble finding anything that isn't aimed at high volume spray-on production.
")